In the fast-paced world of professional photography, mastering the photoshoot process is essential for creating stunning, memorable images. As a photographer with years of experience, I’ve learned that the difference between a good photo and an exceptional one often lies in the unseen preparation and behind-the-scenes work. Today, I’m pulling back the curtain to give you an in-depth look at my photoshoot process, from the initial client contact to the final image delivery.
The journey from a client’s initial inquiry to delivering the final photographs is a complex process filled with crucial steps, creative decisions, and sometimes, unexpected challenges.
In this blog post, I’m excited to share an insider’s look at my prep and process. It’s a bit of a read, so grab a drink and settle in.
Whether you’re a fellow photographer looking to refine your approach, a client curious about what goes on behind the scenes, or simply someone interested in the art of photography, this guide will provide valuable insights into the photoshoot journey.
We’ll start by diving into the foundation of any successful shoot: the pre-production phase. You might be surprised to learn just how much work happens before the camera even comes out of its bag. This preparation is key to ensuring everything runs smoothly when it’s time to capture those perfect shots.
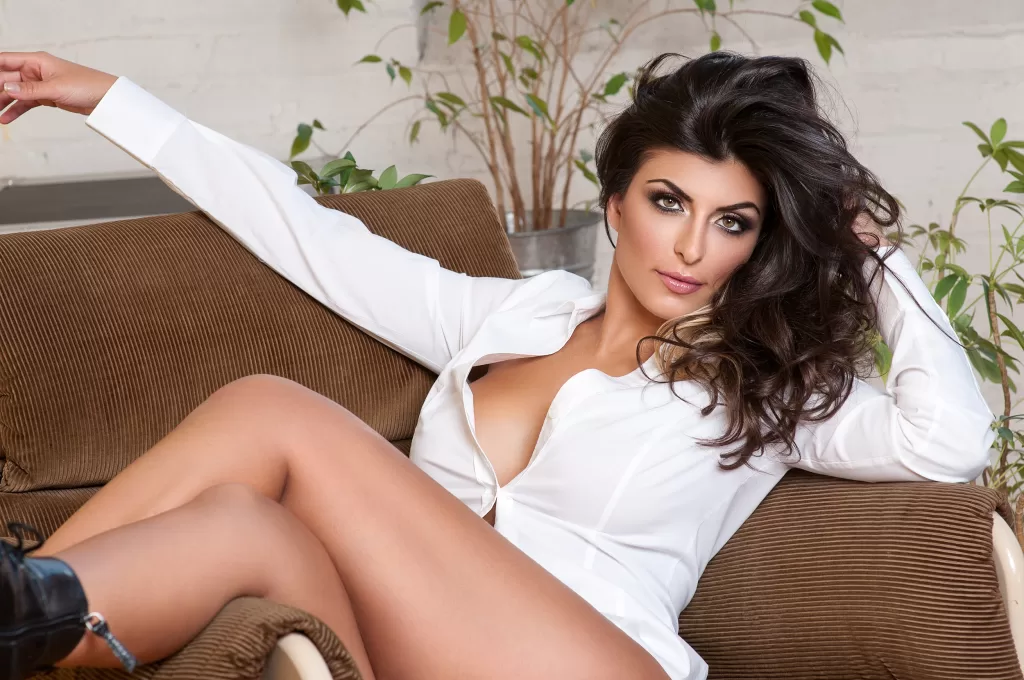
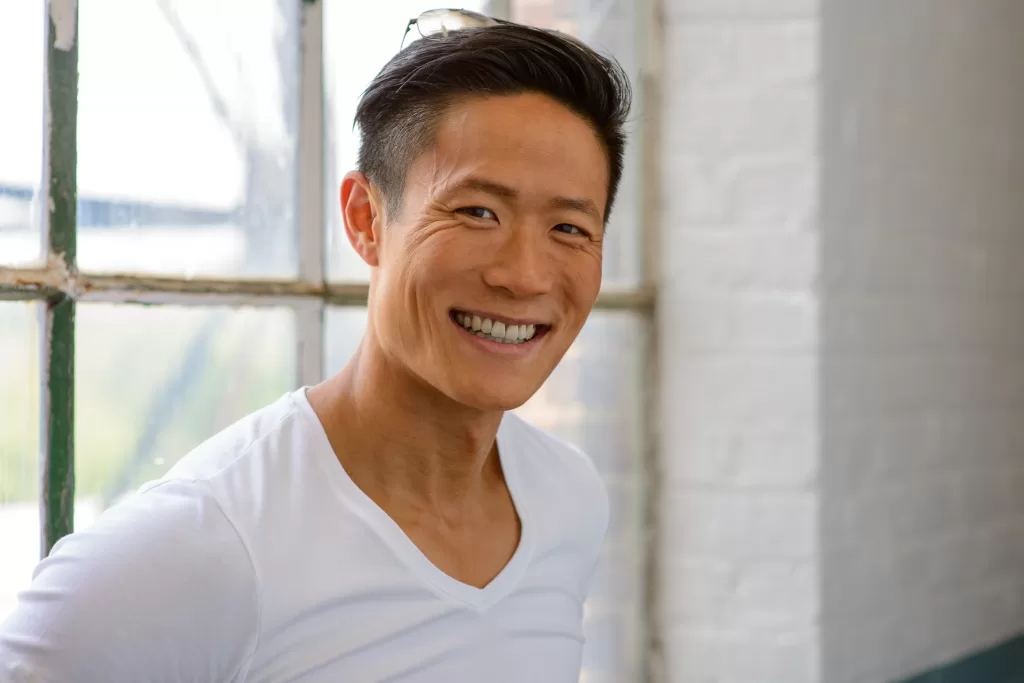
The Foundation: Pre-Production in the Photoshoot Process
The success of any photoshoot is largely determined before the camera even comes out of its bag. Let’s dive into the crucial pre-production phase of the photoshoot process that has been my staple over time.
It’s not for everyone but offers up insight and might also give you ideas to implement.
1. Initial Client Communication: Setting the Stage
When a client books a shoot with me, my first step is always to reach out and start a conversation. This initial contact is crucial for several reasons:
- It helps establish a rapport with the client, making them feel more comfortable and involved in the process.
- It allows me to understand their vision, expectations, and any specific requirements they might have.
- It gives me the opportunity to explain my photoshoot process and set realistic expectations.
I typically start with a phone call or video chat, as I find that direct conversation often yields more nuanced information than email exchanges. During this call, I ask open-ended questions about their goals for the shoot, any specific images they have in mind, and the intended use of the photos. This information becomes the foundation of our shared vision.
2. The Art of the Mood Board: Visualizing Ideas
Once I have a general idea of what the client is looking for, it’s time to create a mood board. This visual reference guide is an indispensable tool in my photoshoot process. Here’s how I approach it:
Pinterest: A Treasure Trove of Inspiration
I start by creating a shared Pinterest board with the client. Pinterest is an invaluable resource for visual inspiration, offering a vast array of images across various styles and themes. I encourage clients to pin images that resonate with their vision – not just photographs, but also color palettes, textures, and even abstract art that captures the mood they’re after.
Client Input: Bridging Visions
I always ask clients to send me images that inspire them or represent the look they’re going for. These could be professional photos they admire, snapshots that capture a particular mood, or even drawings or sketches. This step is crucial because it helps bridge the gap between their vision and mine, ensuring we’re on the same page.
Elevating Concepts with AI
To take our conceptualization to the next level, I’ve recently incorporated Generative AI, specifically Midjourney, into my photoshoot process. This cutting-edge tool allows me to input elements from our mood board and generate unique, AI-created images that blend and elevate our ideas.
For example, in a recent fashion shoot, the client wanted a futuristic, cyberpunk-inspired look. By feeding Midjourney with elements from our mood board – neon lights, reflective surfaces, and avant-garde fashion – we were able to generate entirely new concepts that pushed our creative boundaries.
This AI-assisted approach helps me:
- Refine lighting setups by visualizing different scenarios
- Experiment with unconventional compositions
- Inspire unique poses and expressions for models
- Generate ideas for props or set designs
While the AI-generated images aren’t used directly in the shoot, they serve as an additional layer of inspiration and help me pre-visualize potential outcomes.
3. Wardrobe Planning: Dressing for Success
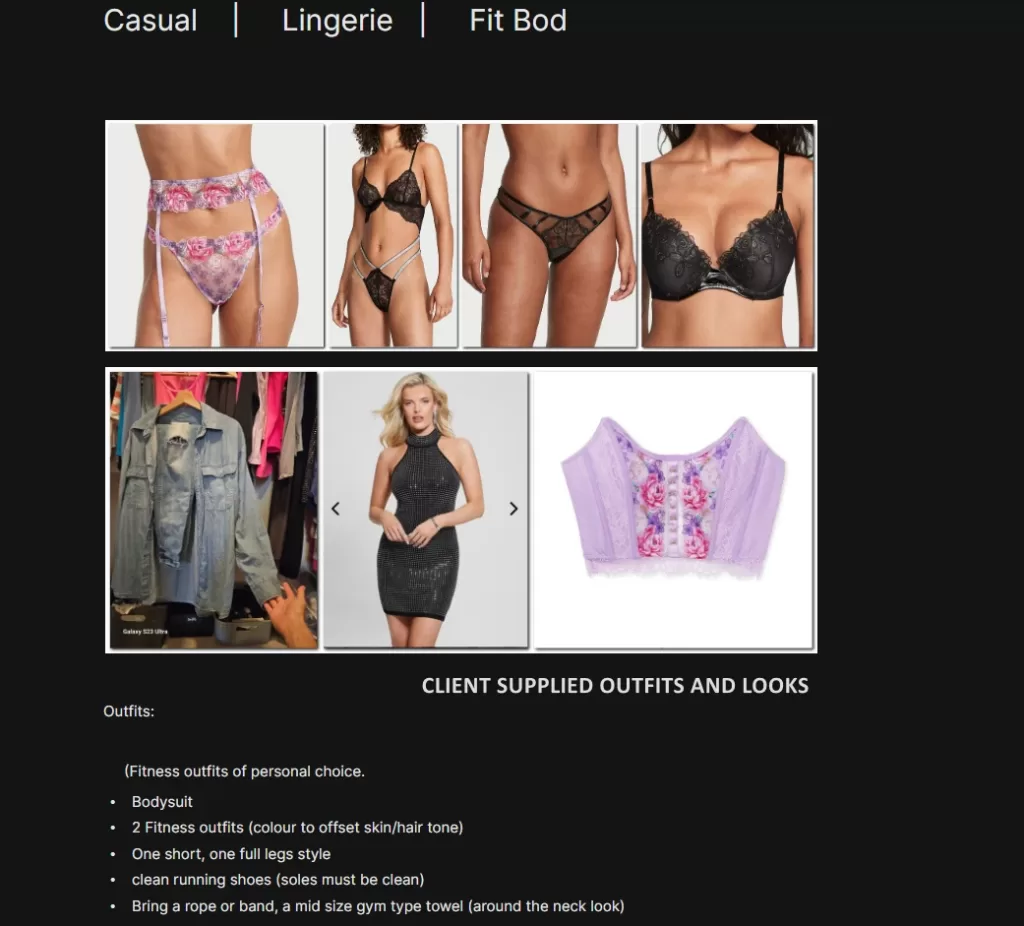
Clothing and styling play a pivotal role in the overall impact of a photograph. That’s why wardrobe planning is a key element of my pre-production photoshoot process. Here’s how I approach it:
Client Collaboration
I ask clients to share ideas about the outfits they plan to bring to the shoot. This could be through:
- Photos of the actual outfits
- Links to similar styles online
- Descriptions of colors, textures, and styles they’re considering
Stylist Input
For larger productions, I often work with a professional stylist. They can provide valuable input on:
- How certain fabrics and colors will photograph
- Accessorizing to enhance the overall look
- Ensuring variety in the wardrobe selection
Practical Considerations
I also discuss practical aspects of wardrobe choices, such as:
- Comfort: Ensuring the client can move freely and feel confident
- Versatility: Choosing pieces that can be mixed and matched for variety
- Appropriateness: Ensuring the style aligns with the shoot’s purpose and location
4. Evernote: My Digital Command Center
To keep all this information organized and easily accessible, I create an Evernote for each client. This digital notebook becomes the central hub for our photoshoot process. Here’s how I structure it:
Client Brief
- Client’s contact information
- Shoot date, time, and location
- Overall concept and goals for the shoot

Mood Board
- Links to our shared Pinterest board
- Uploaded images from the client
- AI-generated concept images
Shot List
- Detailed list of must-have shots
- Ideas for creative or experimental shots
- Notes on specific techniques or equipment to use
Logistics
- Location details (including backup options)
- Equipment checklist
- Team contacts (makeup artist, stylist, assistants)
Client Notes
- Any specific requests or concerns from the client
- Notes on the client’s comfort level with being photographed
- Ideas for helping the client feel relaxed during the shoot
By having all this information in one place, I can quickly reference it during the shoot to ensure I’m on track and meeting the client’s expectations.
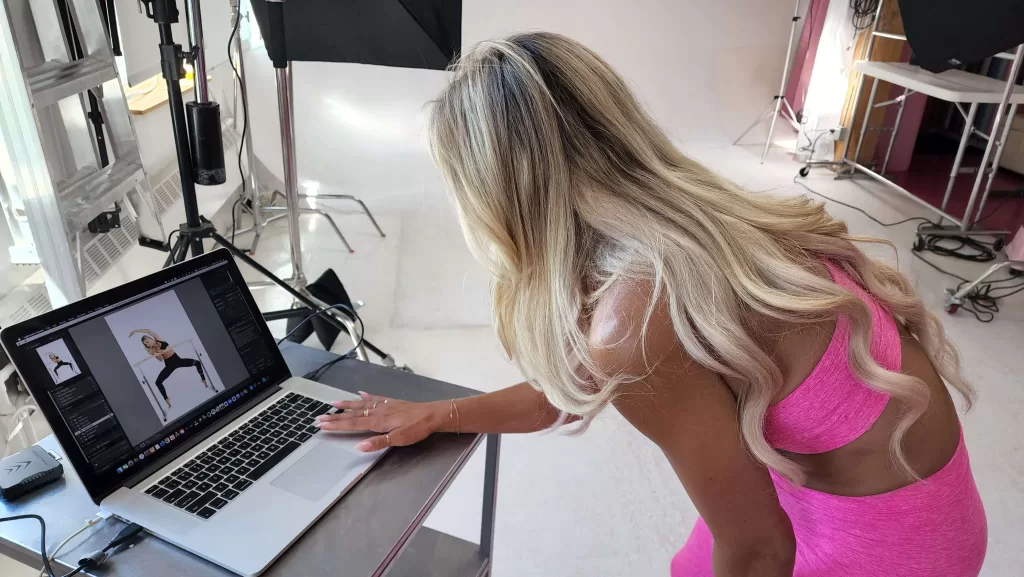
Execution: Bringing the Vision to Life
With all the preparation done, it’s time for the main event. The day of the shoot is where all the planning comes together, but it’s also where adaptability becomes key.
Creating the Right Atmosphere
One of the most important aspects of the photoshoot process is creating an environment where the client feels comfortable and confident. Here’s how I approach this:
Music Matters
I always have a playlist ready, tailored to the mood of the shoot and the client’s preferences. Music can help break the ice, energize the set, or create a calm atmosphere, depending on what’s needed.
Team Introductions
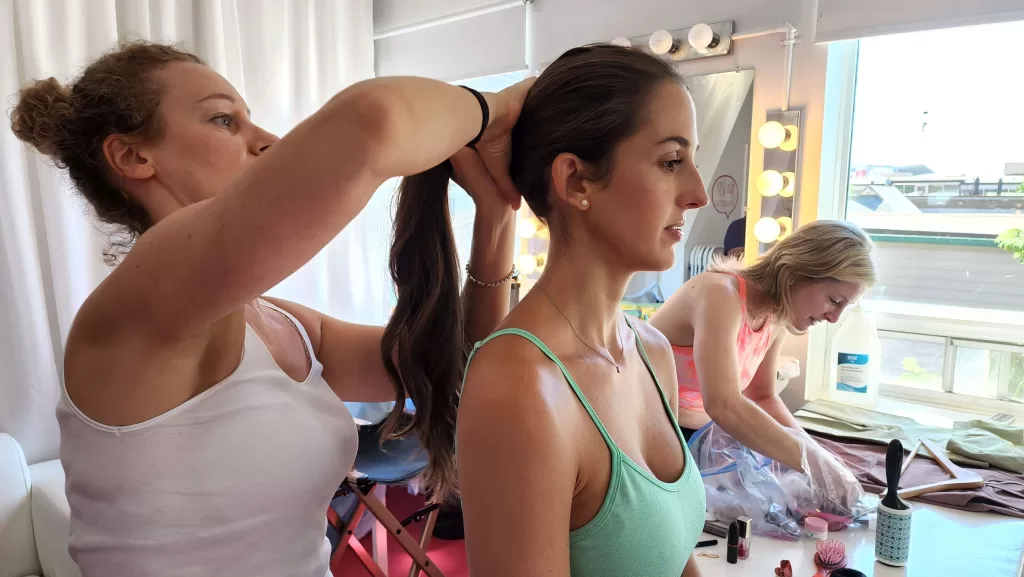
If I’m working with a team (makeup artist, stylist, assistants), I make sure to introduce everyone to the client. This helps create a friendly, professional atmosphere and allows the client to feel more at ease with everyone on set.
Start with Easy Shots
I typically begin with some easier, low-pressure shots. This gives the client time to warm up and get comfortable in front of the camera. It also allows me to make any necessary adjustments to lighting or camera settings without adding stress to the situation.
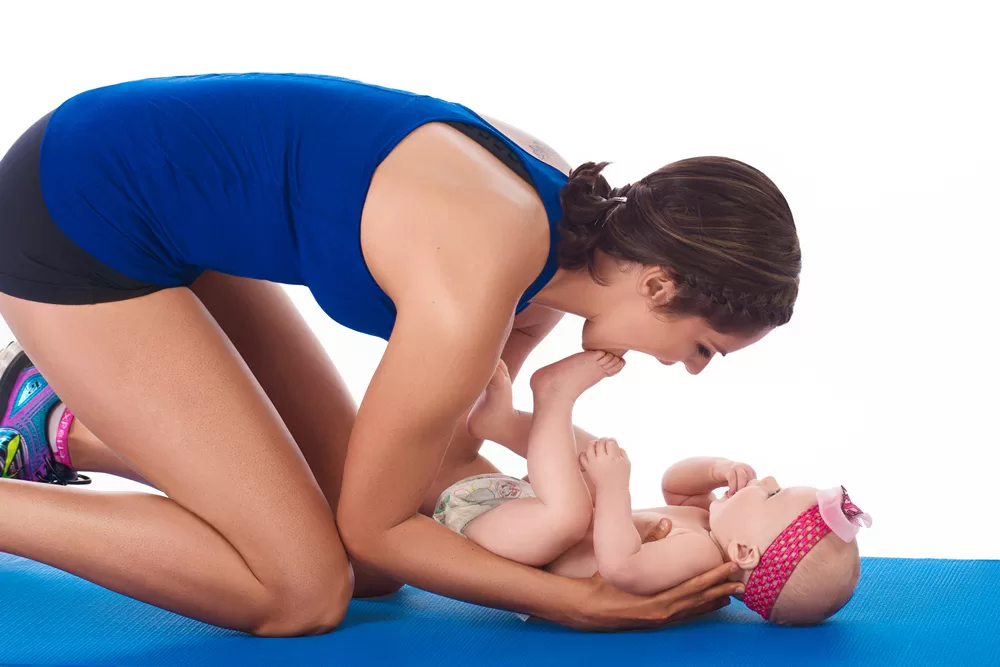
Adapting to Challenges
Even with meticulous planning, the photoshoot process often involves unexpected situations.
Here’s how I handle some common challenges:
Weather Woes
When shooting on location, weather is always a factor to consider. I always have a backup plan, whether it’s an alternate indoor location or creative ways to use unexpected weather to our advantage.
For instance, during a recent outdoor portrait session, we were surprised by a sudden rain shower. Instead of calling off the shoot, we used clear umbrellas as props and captured some beautifully moody shots with the rain in the background. Sometimes, these unexpected elements can lead to the most memorable and unique images.
Equipment Issues
Technical difficulties can happen to even the most experienced photographers. That’s why I always bring backup equipment and make sure I’m familiar with quick troubleshooting techniques for my gear.
Having a camera decide it is the day that for some reason it will not cooperate can bring a damper on the process. Having a backup that you can switch to helps to alleviate this, and it also shows your client that you came prepared for them. This level of preparedness can turn a potential disaster into a minor hiccup, maintaining the client’s confidence in your professionalism.
I’ve encountered having one of my lights getting knocked over as the soft-box detaches and thereby smashing the bulb, so I typically will have at least one extra ready to go. This kind of foresight has saved many shoots from potential disaster and allowed me to continue delivering high-quality results even when faced with unexpected challenges.
Client Curve Balls
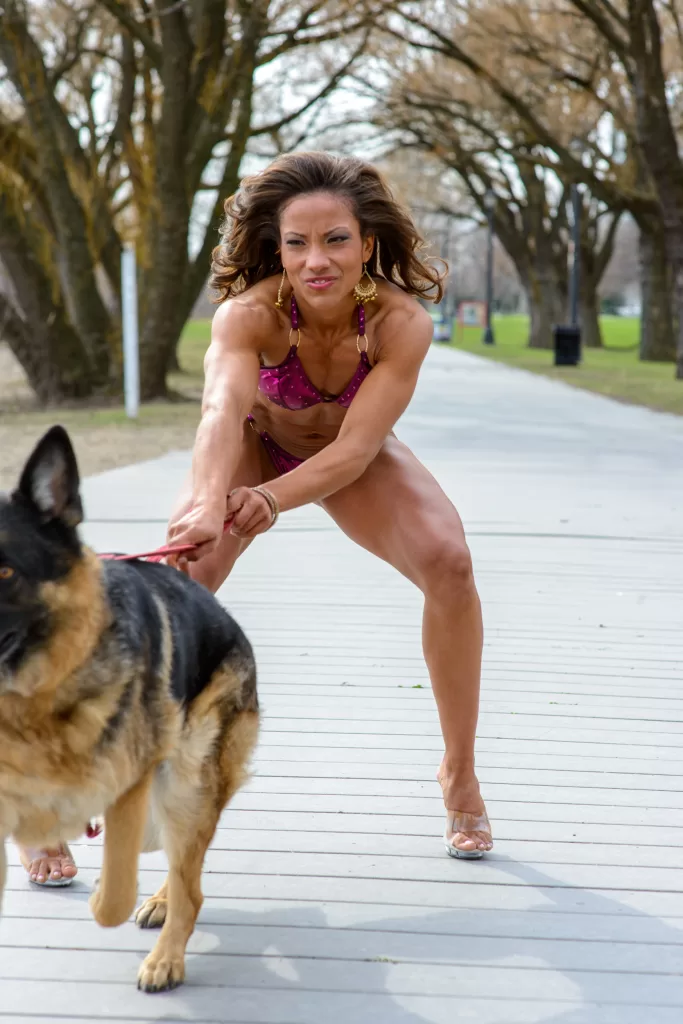
Sometimes, clients may have last-minute ideas or requests. While it’s important to stick to the agreed-upon plan, being flexible and open to new ideas can lead to exciting results. The key is to balance the client’s wishes with your professional judgment.
I experienced this firsthand during a beach photoshoot series. My client spotted a dog on the beach and instantly fell in love with it. Sensing an opportunity for some unique shots, I paused our planned session to approach the dog’s owner. After confirming the dog was people-friendly, we were able to ‘borrow’ the animal for a few impromptu shots.
This spontaneous addition to our shoot allowed me to fulfill an unexpected desire of the client. While the dog eventually decided it had had enough of our photoshoot (as animals often do!), the experience added a fun, unplanned element to our session. It resulted in some wonderfully candid images that captured not just my client’s appearance, but also a moment of joy and spontaneity.
This experience reinforced for me the importance of remaining open and adaptable during a shoot. While careful planning is crucial, it’s equally important to be ready to seize unexpected opportunities that can make a photoshoot truly memorable for your clients.
Reviewing as You Go
Throughout the shoot, I make it a point to show the client some of the images on the camera’s LCD screen or a tethered device. This serves several purposes:
- It builds excitement and confidence as the client sees the amazing images we’re creating.
- It allows for real-time feedback and adjustments.
- It ensures we’re on the right track and meeting the client’s expectations.
Post-Production: Where the Magic Happens
The photoshoot process doesn’t end when the last shot is taken. Post-production is where we refine and perfect the images, bringing out their full potential. Here’s a look at my editing workflow:
1. Culling: Separating the Gold from the Rest
The first step in my post-production process is culling. This involves going through all the images from the shoot and selecting the best ones. Here’s how I approach it:
- I use software like Photo Mechanic to quickly browse through the images.
- I look for key factors like focus, composition, and expression.
- I flag the top contenders and create a shortlist of the best images.
This is where having a clear shot list from my Evernote comes in handy, as I can ensure we’ve covered all the must-have shots.
2. Basic Adjustments: Laying the Foundation
Once I have my selection, I move into Adobe Lightroom for the initial adjustments. This includes:
- Exposure and contrast adjustments
- Color balance and saturation tweaks
- Cropping and straightening if needed
I typically create a preset based on the mood board and apply it to all the images for consistency, then fine-tune each photo individually.
3. Detailed Retouching: Perfecting the Image
While I have the skills to perform detailed retouching work in Adobe Photoshop, I’ve found that outsourcing this step to a specialized team often yields the best results for my clients. Here’s why:
- Expertise: My select team of editors are highly experienced and focus solely on editing. Their specialized skills ensure top-notch results.
- Efficiency: By delegating this task, I can maximize my time in areas more suited to my expertise, such as shooting and client relations.
- Cost-effectiveness: This approach often reduces client costs while maintaining high-quality outcomes.
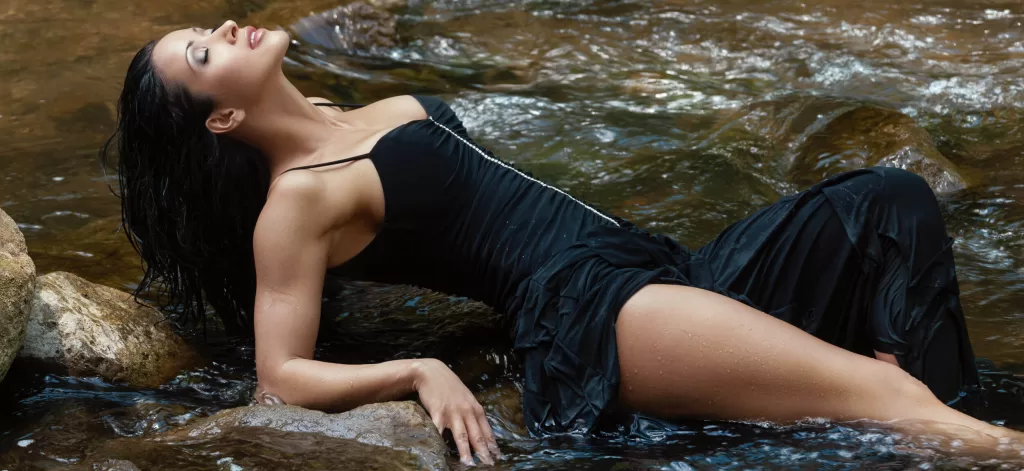
The detailed retouching process might involve:
- Skin retouching
- Object removal or addition
- Complex color grading
- Compositing multiple images
The level of retouching always depends on the client’s preferences and the intended use of the images. My editing team and I work closely to ensure the final product aligns with the client’s vision and my artistic direction.
For my commercial and personal deliveries, this collaborative approach with specialized editors has proven to be the most effective way to achieve stunning, polished results while maintaining efficiency in my overall photoshoot process.
4. Client Proofing: Ensuring Satisfaction
Before finalizing the images, I provide a selection of the best shots to the client for their input. This crucial step in the photoshoot process allows for collaboration and ensures client satisfaction. Here’s how I approach it:
Tools for Proofing
I primarily use Pixieset , an online proofing gallery that allows clients to easily view, comment on, and select their favorite images. For some clients, I might also use DropBox or pCloud to deliver a preview, depending on their preferences and technical comfort.
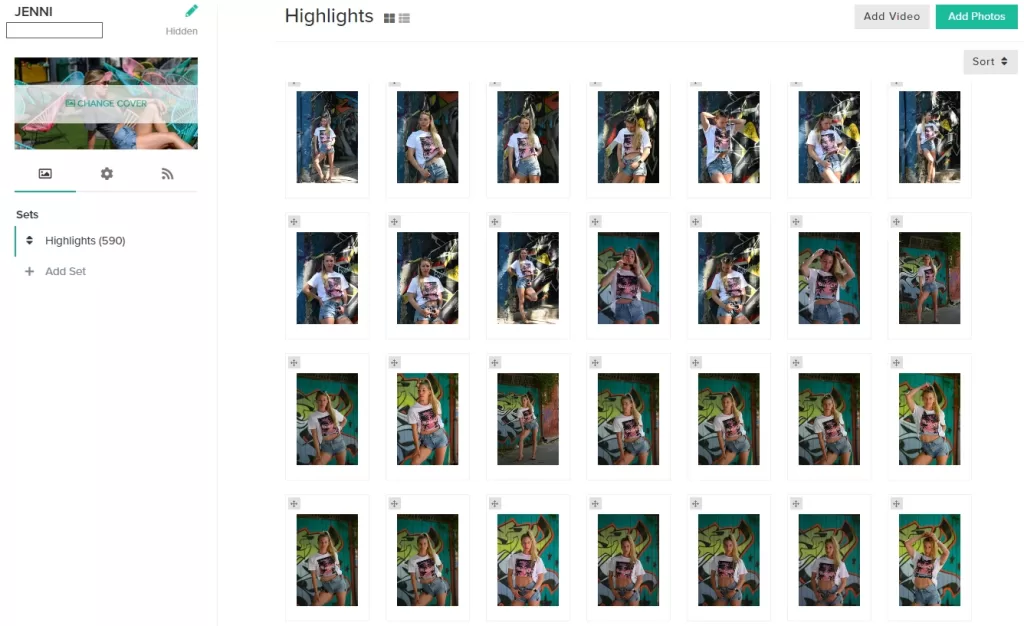
Benefits of the Proofing Process
This step is invaluable for several reasons:
- Client Satisfaction: It ensures the client is happy with the results before we move to any finalized editing and delivery.
- Opportunity for Adjustments: It allows for any minor tweaks or changes before the final delivery, saving time and avoiding potential disappointment.
- Feedback for Future Shoots: It helps me understand which images resonate most with the client, informing my approach for future shoots.
- Self-Assessment: This process also helps me gauge if I’ve hit the mark or if there are areas where I can improve, contributing to my ongoing growth as a photographer.
- Client Excitement: It offers an excited client the ability to get a glimpse of their own hard work ahead of the final delivery, building anticipation and engagement.
Not the Final Delivery
It’s important to note that while this proofing stage is a significant part of the photoshoot process, it’s not the final delivery. The images shared at this stage are typically lower resolution or watermarked versions, with the polished, high-resolution finals to come after any necessary adjustments.
This collaborative approach to proofing has proven to be an excellent way to ensure client satisfaction and maintain open communication throughout the photoshoot process.
5. Final Delivery: Providing Quality Results
Based on the client’s feedback, I make any necessary adjustments and prepare the final images for delivery. My approach to final delivery is focused on giving clients maximum flexibility while ensuring image quality.
Here’s how I handle this crucial step:
Image Preparation
- Metadata: I verify all necessary metadata to the images, which can include copyright information, shoot details, and any relevant keywords.
- High-Resolution Originals: I provide clients with high-resolution results from the shoot. This gives them control over how they want to use and potentially reproduce the images.
- Social Media Ready: In addition to the high-res files, I often include a ‘social media’ folder. These images are sized to 1500 px on the longest side at 240 dpi. This format maintains quality while being optimized for immediate use on social platforms.
- Watermarking: I’m not a fan of watermarks as they can detract from the image. I use them only in rare occasions when absolutely necessary. However, any final edits done specifically for social media use will bear a watermark, while the original high-res files remain unmarked.
File Organization
I organize the files in a clear, logical manner for easy client access. This typically includes separate folders for:
- High-resolution originals
- Social media optimized images
- Any additional formats requested by the client (e.g., print-ready files)
Secure Delivery
For the final delivery, I use secure cloud storage solutions:
- Primary Methods: I typically use DropBox or pCloud storage for delivering the final images.
- Accountability: These platforms allow me to track access and downloads of the content, providing an extra layer of security and accountability.
- Client Access: Clients receive a secure link to access and download their images, making the process smooth and user-friendly.
This delivery method ensures that clients receive their images in a secure, organized manner, with options suited for various uses from high-quality printing to immediate social media sharing.
Post-Shoot Follow-Up: Building Lasting Relationships
The photoshoot process doesn’t end when the final images are delivered. In fact, the follow-up after a shoot is crucial for fostering long-term relationships, encouraging repeat business, and continually improving your craft.
Here’s how I approach this vital step:
Immediate Follow-Up
Within a day or two after the shoot, I always:
- Send a thank-you email or note expressing my appreciation for their business.
- Provide a brief overview of next steps and timeline for image delivery.
- Ask for any initial feedback on the shoot experience.
Constructive Feedback
Once the final images have been delivered and the client has had time to review them, I reach out again. This time, I ask for more detailed feedback on the entire photoshoot process.
Some key questions I like to ask include:
- What aspects of the shoot did you enjoy most?
- Were there any parts of the process that could have been improved?
- Did the final images meet or exceed your expectations?
- Is there anything you wish we had done differently?
This feedback is invaluable. It not only shows the client that I value their opinion, but it also provides crucial insights that help me refine and improve my photoshoot process for future clients.
Nurturing the Relationship
Building a strong relationship with clients goes beyond just delivering great photos. It’s about creating a positive, memorable experience throughout the entire photoshoot process. Some strategies I use include:
- Personalized Communication: I always try to remember personal details about clients and reference them in follow-ups. This could be anything from asking about a upcoming event they mentioned to remembering their preference for a certain style of photography.
- Sharing Behind-the-Scenes: I often share behind-the-scenes photos or video stills or stories from the shoot on my social media, tagging the client when appropriate.
This not only gives them additional content but also makes them feel like a valued part of my creative process. - Periodic Check-ins: For commercial clients or those I’ve worked with multiple times, I schedule periodic check-ins. This might be a quick email, a call or via messaging services such as WhatsApp or every few months to see if they have any upcoming photography needs.
Encouraging Repeat Business
Repeat clients are the backbone of a successful photography business. Here are some ways I encourage clients to return:
- Loyalty Programs: I offer special rates or packages for repeat clients.
- Updates on New Services: When I add new services or equipment that might interest past clients, I make sure to let them know.
- Seasonal Promotions: I have started to run specials, promotions that are targeted during key times of the year (holidays, key events like Halloween etc.) and reach out to past clients first.
Continual Improvement
Every piece of feedback, whether positive or constructive, is an opportunity to improve. I regularly review client feedback and adjust my photoshoot process accordingly. This might involve:
- Tweaking my pre-shoot communication process
- Investing in new equipment or software
- Adjusting my shooting techniques
- Refining my post-production workflow
By showing clients that I value and act on their feedback, I demonstrate my commitment to providing the best possible service. This, in turn, often leads to stronger client loyalty and more referrals.
Remember, in the photography business, your relationship with the client doesn’t end when you deliver the photos – in many ways, that’s just the beginning. A thoughtful, thorough follow-up process can turn a one-time client into a lifelong customer and advocate for your work.
Conclusion: The Art and Science of the Photoshoot Process
Mastering the photoshoot process is a blend of artistic vision and technical skill, seasoned with a hefty dose of planning and communication. By focusing on thorough pre-shoot planning, staying adaptable during the shoot, and maintaining a professional post-production workflow, you can consistently deliver stunning results that exceed your clients’ expectations.
Remember, every photoshoot is a learning experience. Embrace the challenges, celebrate the successes, and always be ready to adapt your process. That’s the true secret to growth in this dynamic and rewarding field.
The photoshoot process I’ve outlined here has been refined over years of experience, but it’s always evolving. As technology advances and client needs change, it’s important to stay flexible and open to new approaches. Whether you’re just starting out or you’re a seasoned pro, I hope these insights into my process have given you some ideas to enhance your own photoshoot workflow.
Want to discuss your next photoshoot, or just about my process above? I’d love to hear from you!
Reach out via my contact page or follow me on Threads for more of what drives my work and my photoshoot process. Let’s create something beautiful together!


